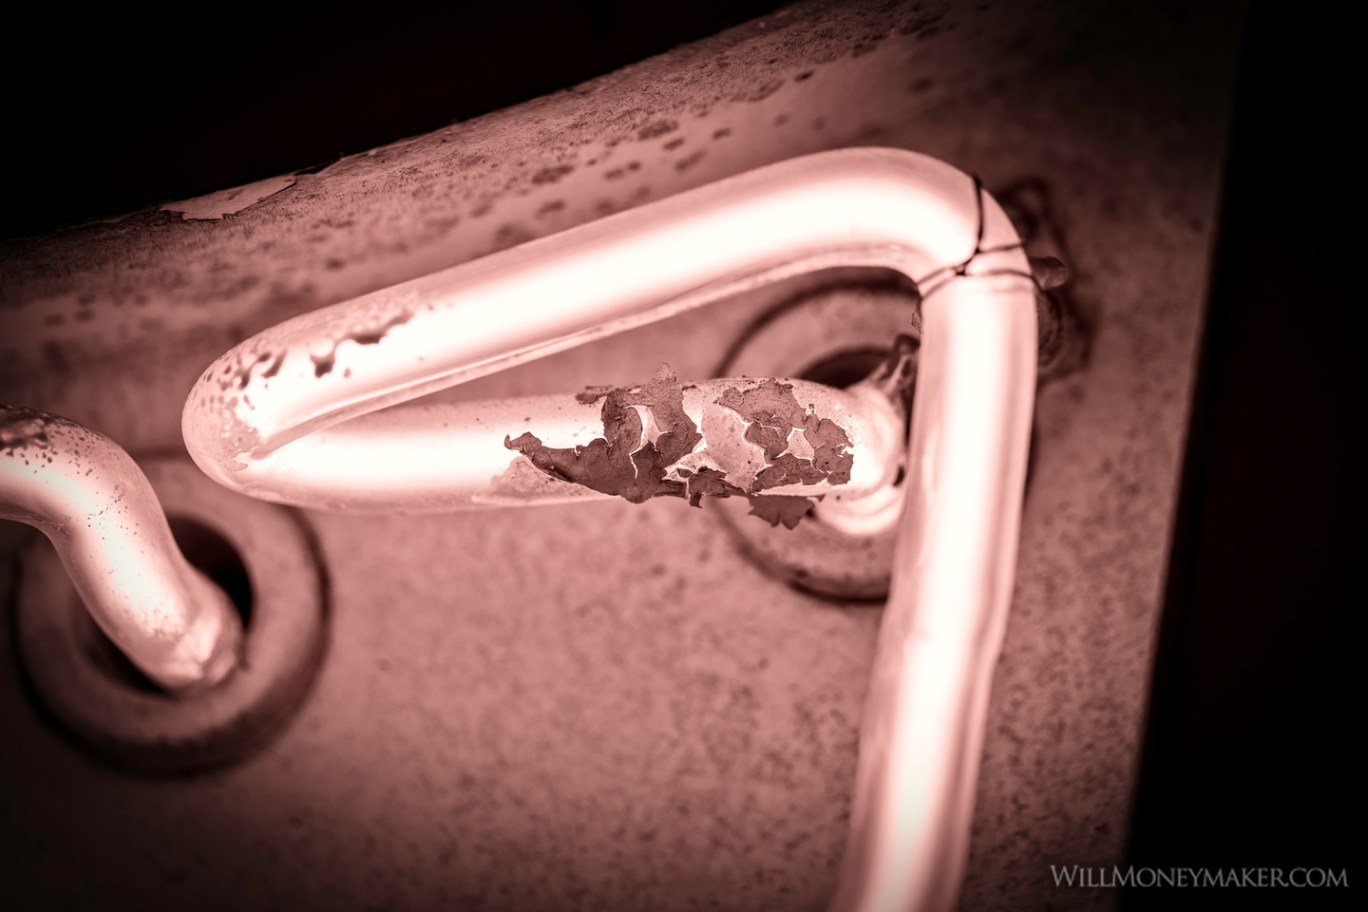
Last time, I talked about my trip to the American Sign Museum, an interesting destination packed with the world’s most beautiful neon lighting. Hopefully, the history lesson I gave you provided some inspiration. Now I think it’s time to talk about how to photograph neon lighting. These tips and tricks can be applied to other kinds of lights but for now, I’d like to focus on neon lights because they are a beautiful, colorful part of our history.
Be Prepared for Low Light
It sounds strange, I know, that in a museum full of neon lights, you would run into a low light situation. However, neon lights (as well as other types of lights, like indoor incandescent lighting) are not meant to provide bright illumination. Instead, these lights are supposed to be colorful, eye-catching, not too bright to look at — just enough light to provide ambience in the space that they are displayed. In the American Sign Museum, in particular, it costs extra to bring along a tripod and I didn’t want to be burdened with extra gear. Instead, I used some other tricks to capture the lights despite the low luminosity.

First, I found myself bracing often to take photos. Bracing is a technique that you can use when you don’t have access to a tripod or a monopod. To brace, all you need to do is find a way to support or stabilize yourself so that you can minimize shakiness at slower shutter speeds. Lean against a wall, prop yourself on the back of a chair or ask a friend for a steady shoulder to lean on. It depends on the person and the capabilities of your camera’s image stabilization, but in general, you should consider bracing at shutter speeds between 1/100 to 1/60 and lower. In fact, you should consider practicing ahead of time so that you know which shutter speeds require you to brace and which are slow enough to make a tripod a necessity.
Another thing you’ll find in situations like this is that it really helps if your camera can handle low light situations at high ISOs without producing a lot of noise. I found myself several times shooting at ISOs of 25,000 or greater. On top of that, make sure that you have a good noise removal tool at your disposal. For the neon light images, I used Luminar to reduce noise.
Now is The Time for Automatic Settings
It’s hard to let your camera do all the work. We photographers often find ourselves unsatisfied with full automatic controls because the art-making process doesn’t feel complete unless you’ve carefully chosen shutter speed, aperture, ISO and all the other necessary settings. However, in a place like the American Sign Museum, automatic settings are your friend. In a place like this, the lighting can change with every step you take and if there are flashing lights, then it is changing between each shot. If you stop to adjust your settings between each and every shot, you are likely to spend more time fiddling with your camera than creating artwork. Turn that dial to “Aperture Priority” and let go — let your camera decide the settings so that you can focus on composition and most importantly, enjoying the experience.

The same goes for white balance. Now, if you are in a place with consistent lighting — incandescent, fluorescent, what have you — then you can set your camera up to achieve the white balance you need. And, if you are going for a certain set of colors or a certain look, then, by all means, set your white balance to get that look, if it helps. But when you are in a setting that features lights in red, yellow, blue, green and every other color imaginable, then, here again, you’ll find that the decision-making process is better left up to the camera rather than attempting to make adjustments between each shot.
What about Post Processing?
For this type of project, I cannot recommend Adobe Lightroom enough. When you rely on automatic settings and creative ways to brace yourself, you will likely take a lot more photos than usual just to make sure that you get a nice collection of great images to work with. Software that can handle images in bulk will make your life much easier.
To do this project, I started by importing the images into Lightroom so that I could flag those that I liked. Then, I left them for a few days so that I could sort my thoughts out, come back and look at the flagged images with a more objective eye. After that, I did a basic processing routine, making adjustments to exposure where necessary, and boosting or lowering highlights — a task that you will likely need to do a lot when photographing lights of any kind.

With neon lights, color is just as important as exposure. Don’t hesitate to go over each image, boosting the saturation of certain colors, enhancing the overall vibrancy, or making other color corrections as needed to really make the lights pop. You may also choose to selectively sharpen some of the most important elements of each image. When all of this is done, move on to noise removal, if necessary.

Finally, the most important part: cropping. In a place like the American Sign Museum, there are innumerable elements that you can’t physically move out of the frame and believe me — those distracting elements will make their way into your images. Fortunately, modern technology makes it easy to crop out those distracting bits and pieces. Take your time on this task, trying different orientations, aligning the most important elements with various compositional rules and removing objects that are making their way into the edges of the image. Most importantly, go about your cropping with the idea that you are telling a story in each image or across a series of images. This mentality will help you determine what needs to stay and what needs to go in each photograph.

If you ever have an opportunity to do a project like this, keep these tips in mind. Hopefully, the things that I have shared will help you enjoy the experience even as you capture a beautiful series of images that you can enjoy for years to come.


