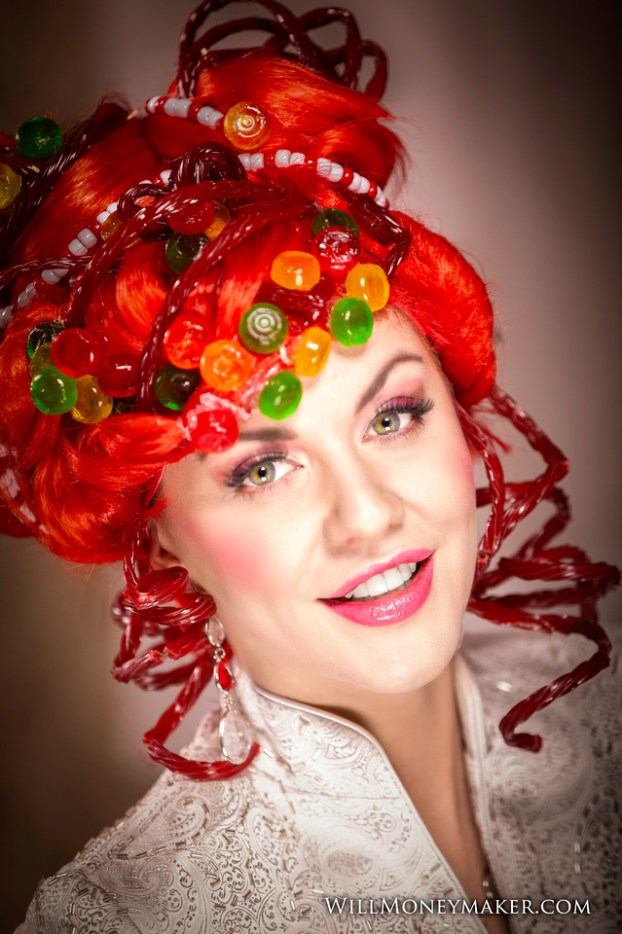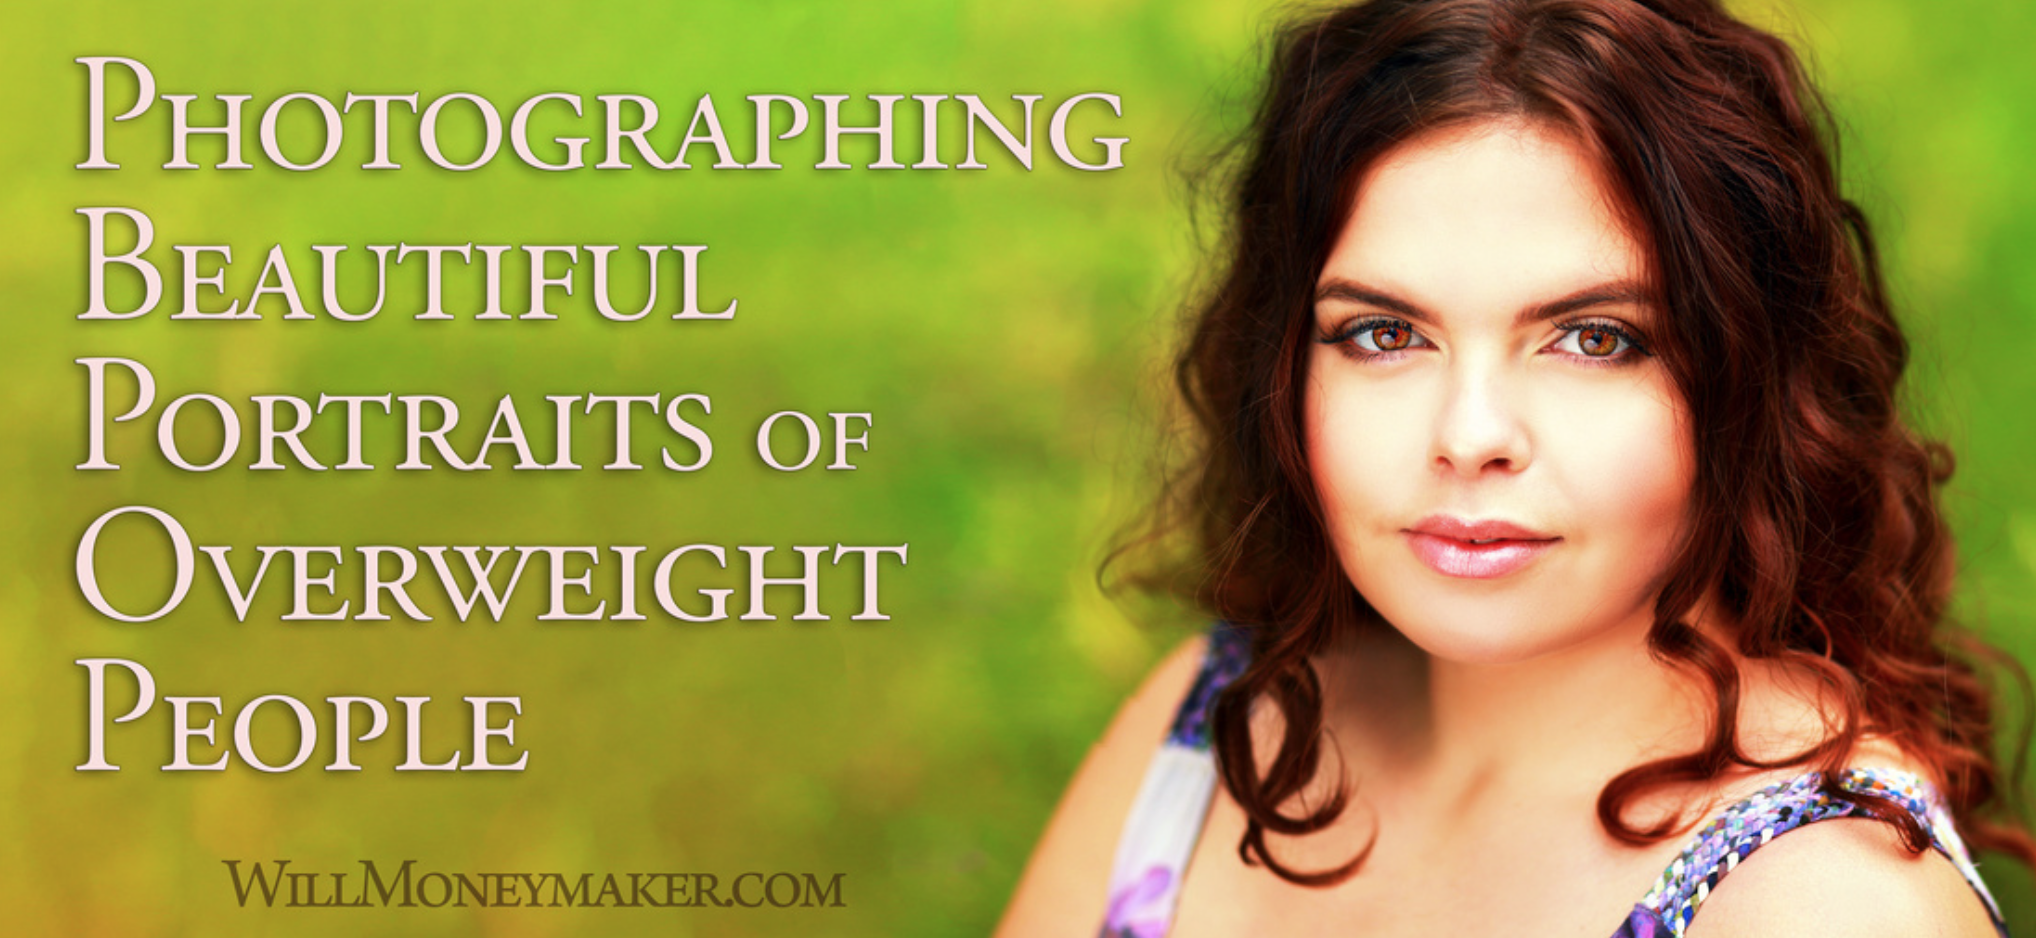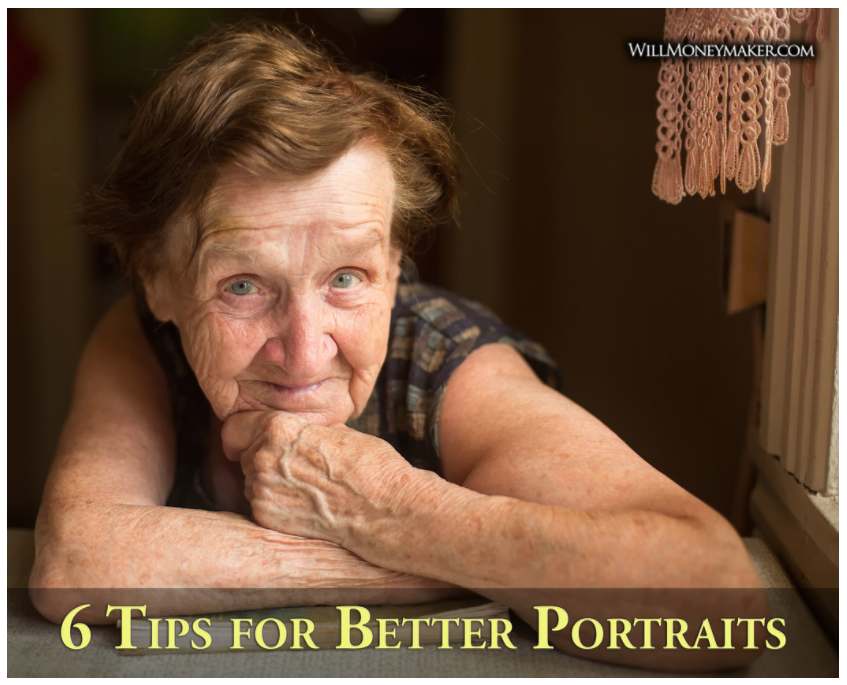
In the previous two posts, you learned how to photograph the eyes and the skin to their best advantage. The final major element to portraiture, particularly headshots, is the hair. You probably know, as do I, just from getting ready in the mornings, that hair has a mind of its own. Because of this, it can be difficult to photograph well. However, if you make the right preparations — both with your subject and with your equipment — then you can ensure that a subject’s hair complements the rest of the photo nicely rather than standing out in an unflattering way.
Start with Styling
In most cases, you won’t be responsible for choosing hairstyles — unless, of course, you are working with models to round out your portfolio. However, there are some things that you can do to ensure that hair looks great before you start taking photos, no matter what style the subject chooses.
Great hair can make a photo, but hair with lots of flyaway strands can break it just as easily, especially if you are using off-camera lighting, which tends to highlight each and every last out of place strand. Fortunately, for hair that is long and loose, you can use a smoothing spray or serum to help hold those flyaways down. Shorter hair or hair that is more intricately styled can be held in place with a quick spritz of hairspray.
Alternatively, if you are dealing with a large number of loose hairs that just can’t be tamed, you may opt to use a soft focus effect to blur out individual strands.
You’ll likely do what you can to prevent flyaway hairs during the photoshoot but certainly, a couple of stray hairs will make their way into the image regardless of the measures you’ve taken. Make sure that when you are post processing, you pay attention to details like this so that you can eliminate those hairs using Photoshop or similar software.
Positioning Hair
Hair positioning applies when your subject has a long flowing mane. You’ll want to make sure that the hair is arranged around the shoulders in a way that complements the face and provides for a nice transition between the head, neck, and torso. Depending on the subject, you may want to let hair hang behind the shoulders, in front of the shoulders or let one side stay in front of one shoulder wall the other side falls behind.
The one thing you should never do is allow the hair to drape onto the shoulders and down over the arms. Not only does this make the transition along the neck and torso seem more awkward but it also has a widening effect, making the shoulders seem larger and blocky.
Lighting Hair
There are a couple of great ways to light hair. The first is to use backlighting, which creates a glowing halo around the edges of the subject’s hair. This type of lighting is typically used for more glamorous shots, especially for models or high schoolers for their graduation photos.
The second method is simpler: Just use a light source that is devoted to the hair. This is usually a studio light, but you can use an off-camera flash or whatever you have. Place this light about three feet above the subject’s head and make sure to experiment with positioning. The light can be at the front, side or even behind the subject — all positions will give a slightly different look. You’ll likely also want to diffuse this light with an umbrella or softbox and it may be necessary to use a snoot so that the light doesn’t cause lens flare. Make sure that the light isn’t too bright because it can blow out the highlights in the subject’s hair.
Now that you know what a hair light is and how to use it, you’ll need to know when to use it. The general rule of thumb is this: If the subject’s hair color needs some separation from the background of the image, then you’ll need to use a hair light. So, for instance, if you are photographing a brunette against a dark background or a blonde against a light background, then you should use a hair light so that the subject’s head doesn’t blend into the backdrop.
Even if you don’t need hair lighting for separation, don’t hesitate to use it anyway. When done well, it can really bring a head of shiny locks to life.
Post Processing Notes
There are several things to remember as you go through the post-processing stage. As I’ve already said, now is the time to nix all of those distracting stray hairs!
You should also pay close attention to the hair’s texture if you plan on sharpening the image. Because hair has such a fine texture compared to other parts of the face, it is very easy to make it look over sharpened in comparison to the rest of the image. If need be, use a layer mask to mask out the hair as you sharpen elsewhere.
Another major concern is color. Here, white balance is key and you should also take care to maintain the correct hue as you adjust saturation or do other post-processing tasks. Typically, someone with blonde hair does not want a brassy look but that brass color is very easy to achieve with lighting that is somewhat off or a botched color correction. Similarly, redheads typically want true red while people with black hair would rather it didn’t take on a brownish or even bluish cast. Do as much correction as possible on camera through white balance adjustments or filters and then take care to make sure that the hair doesn’t turn an odd tone as you work through your post-processing routine.
Eyes, skin, and hair — if you have been following the series so far, then you should have the knowledge you need to get started with portraiture. However, there still are a few more things to learn and that’s why I intend to show you the basics of posing and some other tips and tricks next week!


