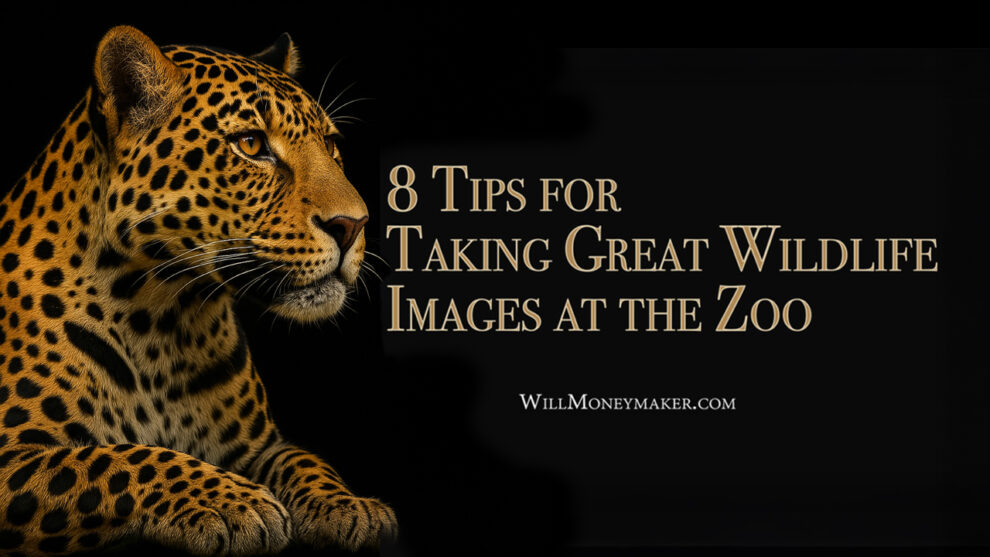
8 Tips for Taking Great Wildlife Images at the Zoo
If you ask photographers, most would say that they’d love to go on safari or take a trip to an exotic land just for the opportunity to create amazing images of fantastic animals. However, it’s not so easy to break away from daily life for a trip to the wilds. Fortunately, you can still create some amazing images while staying much closer to home. Take a trip to your local zoo and use these tips to take breathtaking wildlife photos!
1. Choose the Right Day and Time
The biggest mistake that some photographers make is going to the zoo on a weekend, during the middle of the day. If you pick the wrong time to go, you’ll spend an undue amount of time-fighting crowds to take photos of animals that are sleeping in a shady spot.
Try to plan your trip for a weekday, and if possible, visit in the early morning or towards evening. You’ll experience fewer crowds, and the animals are likely to be more active, too. Morning and evening sunlight will also help you get that perfect golden lighting, and it helps make the colors pop.
Don’t be disappointed if the day is rainy or overcast. These days offer some of the best opportunities as animals play in the rain. You’ll also have fewer harsh shadows, and the even lighting will help you get beautifully saturated colors.
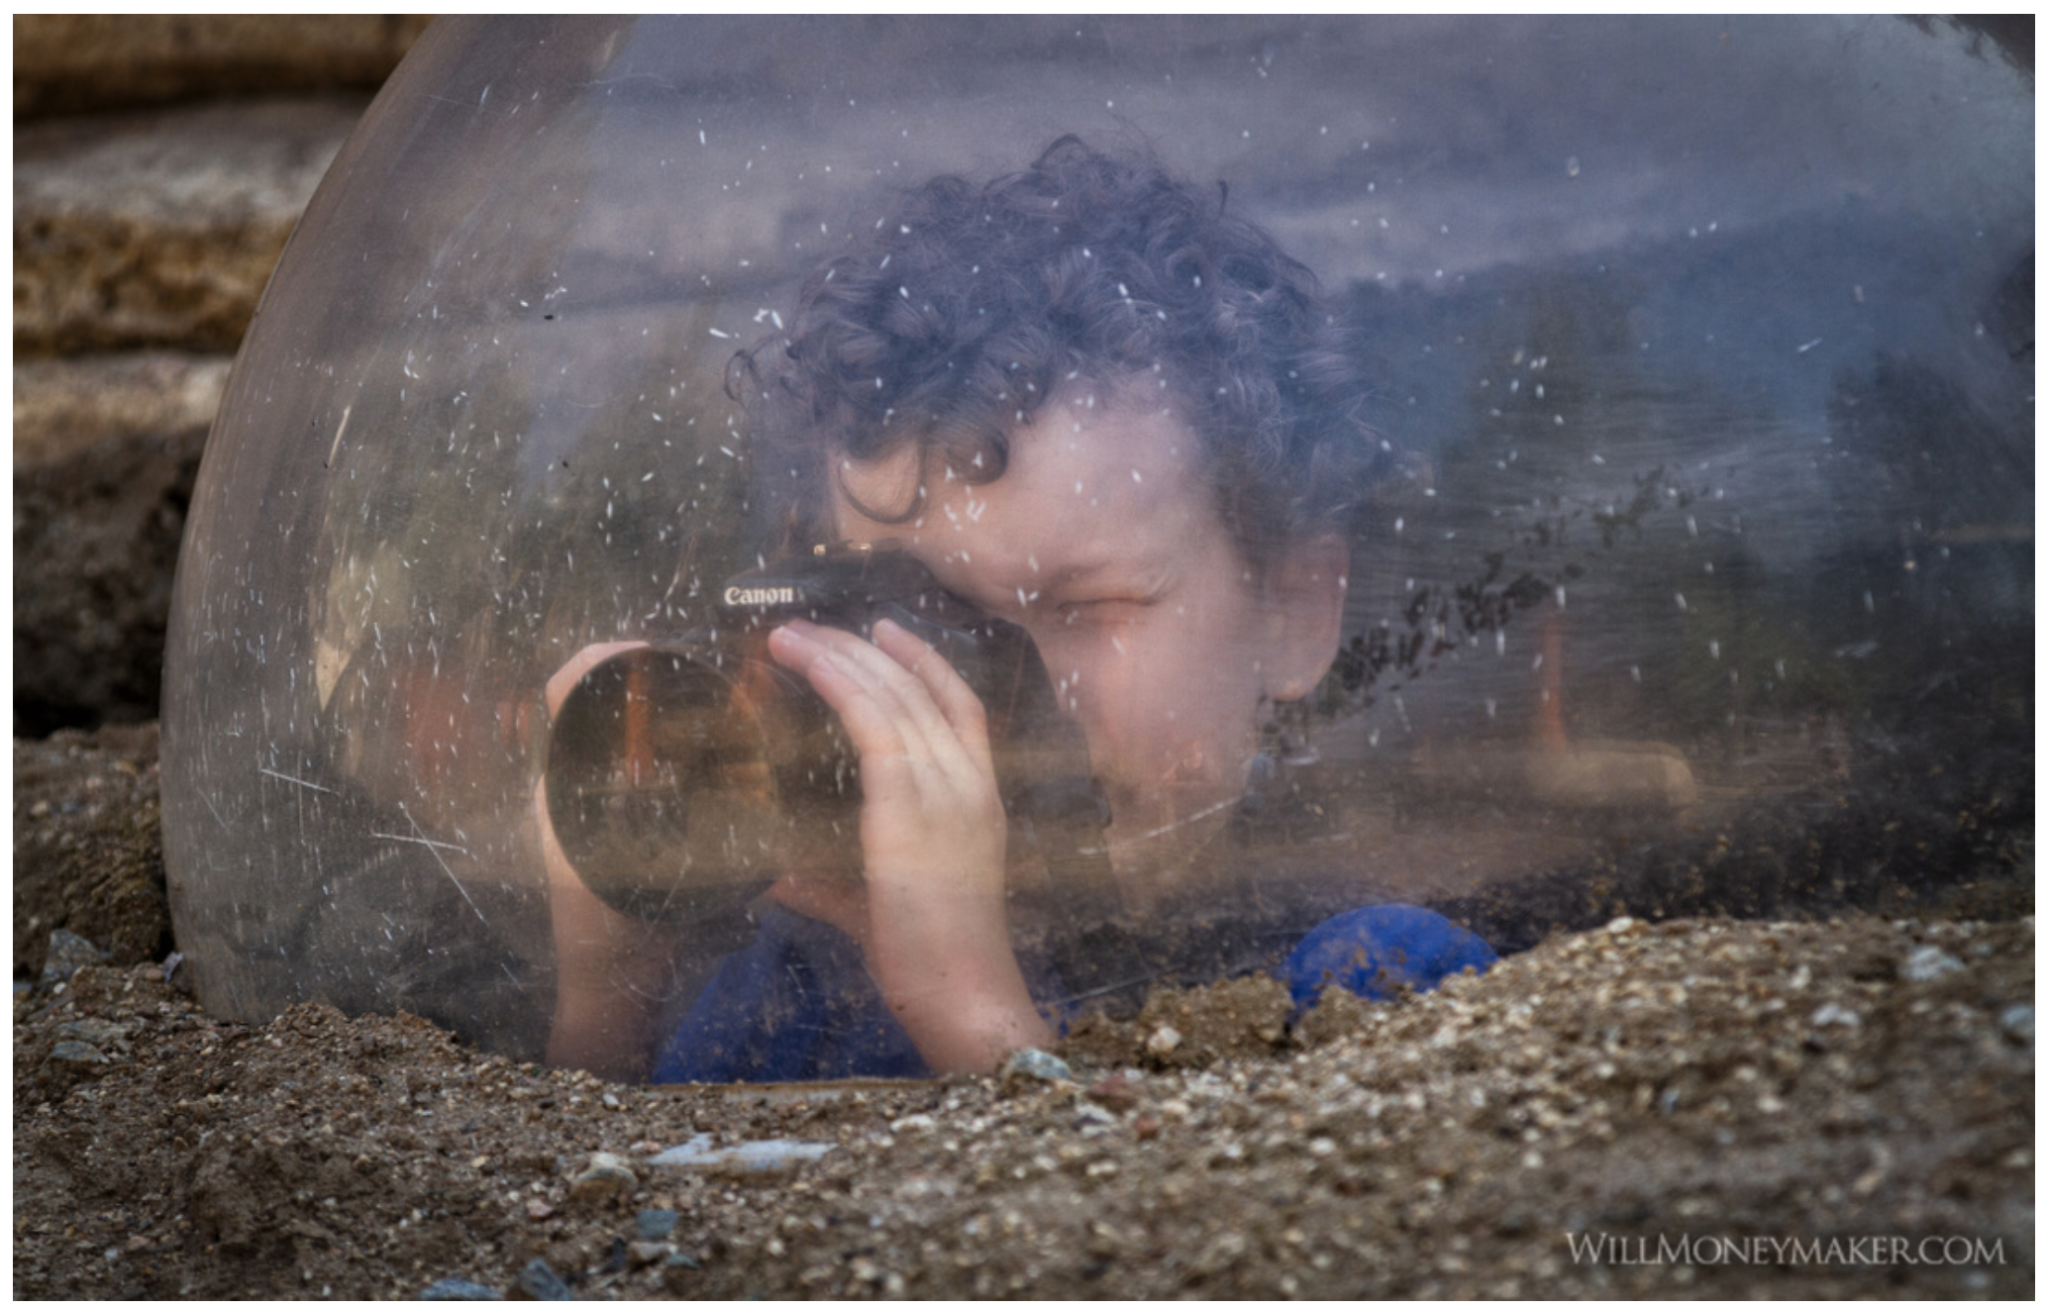
2. Dealing with Glass
In many cases, the animals you’re photographing are behind glass, which presents a couple of challenges. For one thing, the glass may be reflective. It may also be covered in fingerprints from other zoo patrons. Take along a cloth to polish glass, and wear neutral or dark clothing since bright colors produce more reflections. You may also want to use a polarizer to cut down on glare, but keep in mind that the polarizer will darken your exposure.
Sam using a polarizer shooting through plexiglass
3. Take the Right Lenses
If you plan to spend the whole day at the zoo, you probably don’t want to lug around a large equipment bag. You’ll need two things from your lenses: A wide aperture, and the ability to zoom in on faraway animals. The wide aperture is particularly important because the narrow depth of field will let you blur fences and other distracting elements. Choose lenses that will give you both wide apertures and a range of focal points to minimize the amount of gear you need to take.
4. Bring a Monopod
The uncertain lighting within the shade or inside enclosures means that you’ll probably have to deal with slow shutter speeds at times. You can bring along a tripod, but a monopod is even better. It’s easier to move as the animals move, more portable than a tripod, and when you get tired, it doubles as a walking stick!
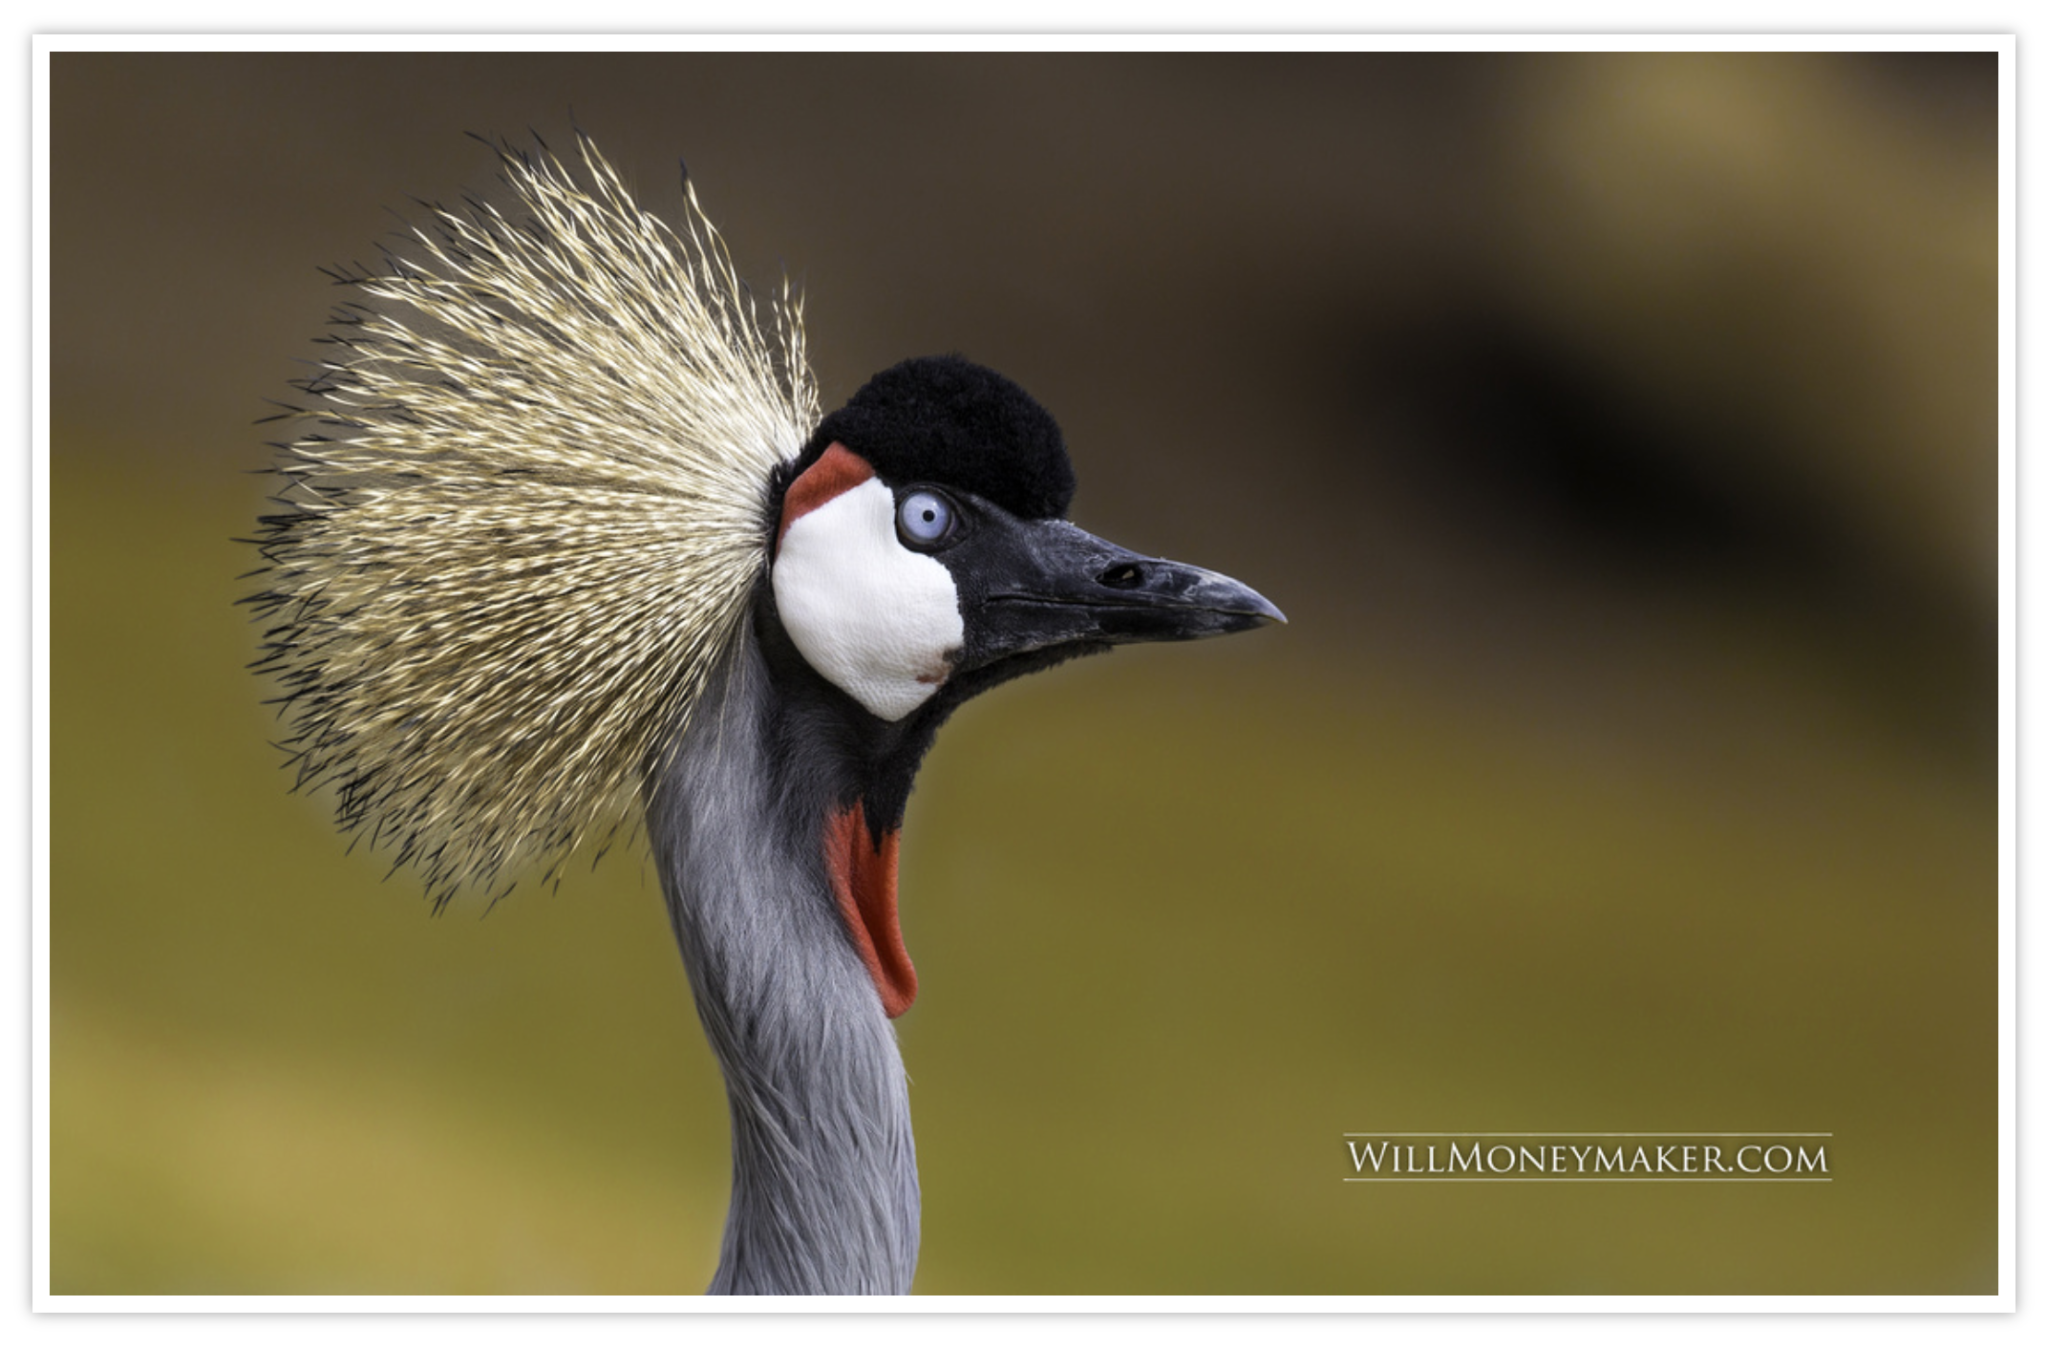
5. Be Aware
To make images that look like they were taken while on safari, you’ll need to pay careful attention to your surroundings. Keep buildings, enclosures, and obviously man-made structures out of your images, and also pay attention to details like food and water dishes. If need be, get creative with your framing to ensure that these objects don’t intrude.
You can also avoid obstacles by zooming in as close as possible. When you can capture a great expression, a close-up of an animal at the zoo has just as much power as an image that was taken in the wilderness.
6. Have Patience
It may take time, but the animals you’re watching will eventually do something interesting or amusing. Watch the animals through your viewfinder as they play, and keep your finger on the shutter release – a great moment will come and you’ll be ready!
The key to creating great images at the zoo is to look for unique moments that not everyone has the chance to capture. Anyone can take a quick snap of a napping tiger, but not everyone can catch him growling, pouncing or playing.
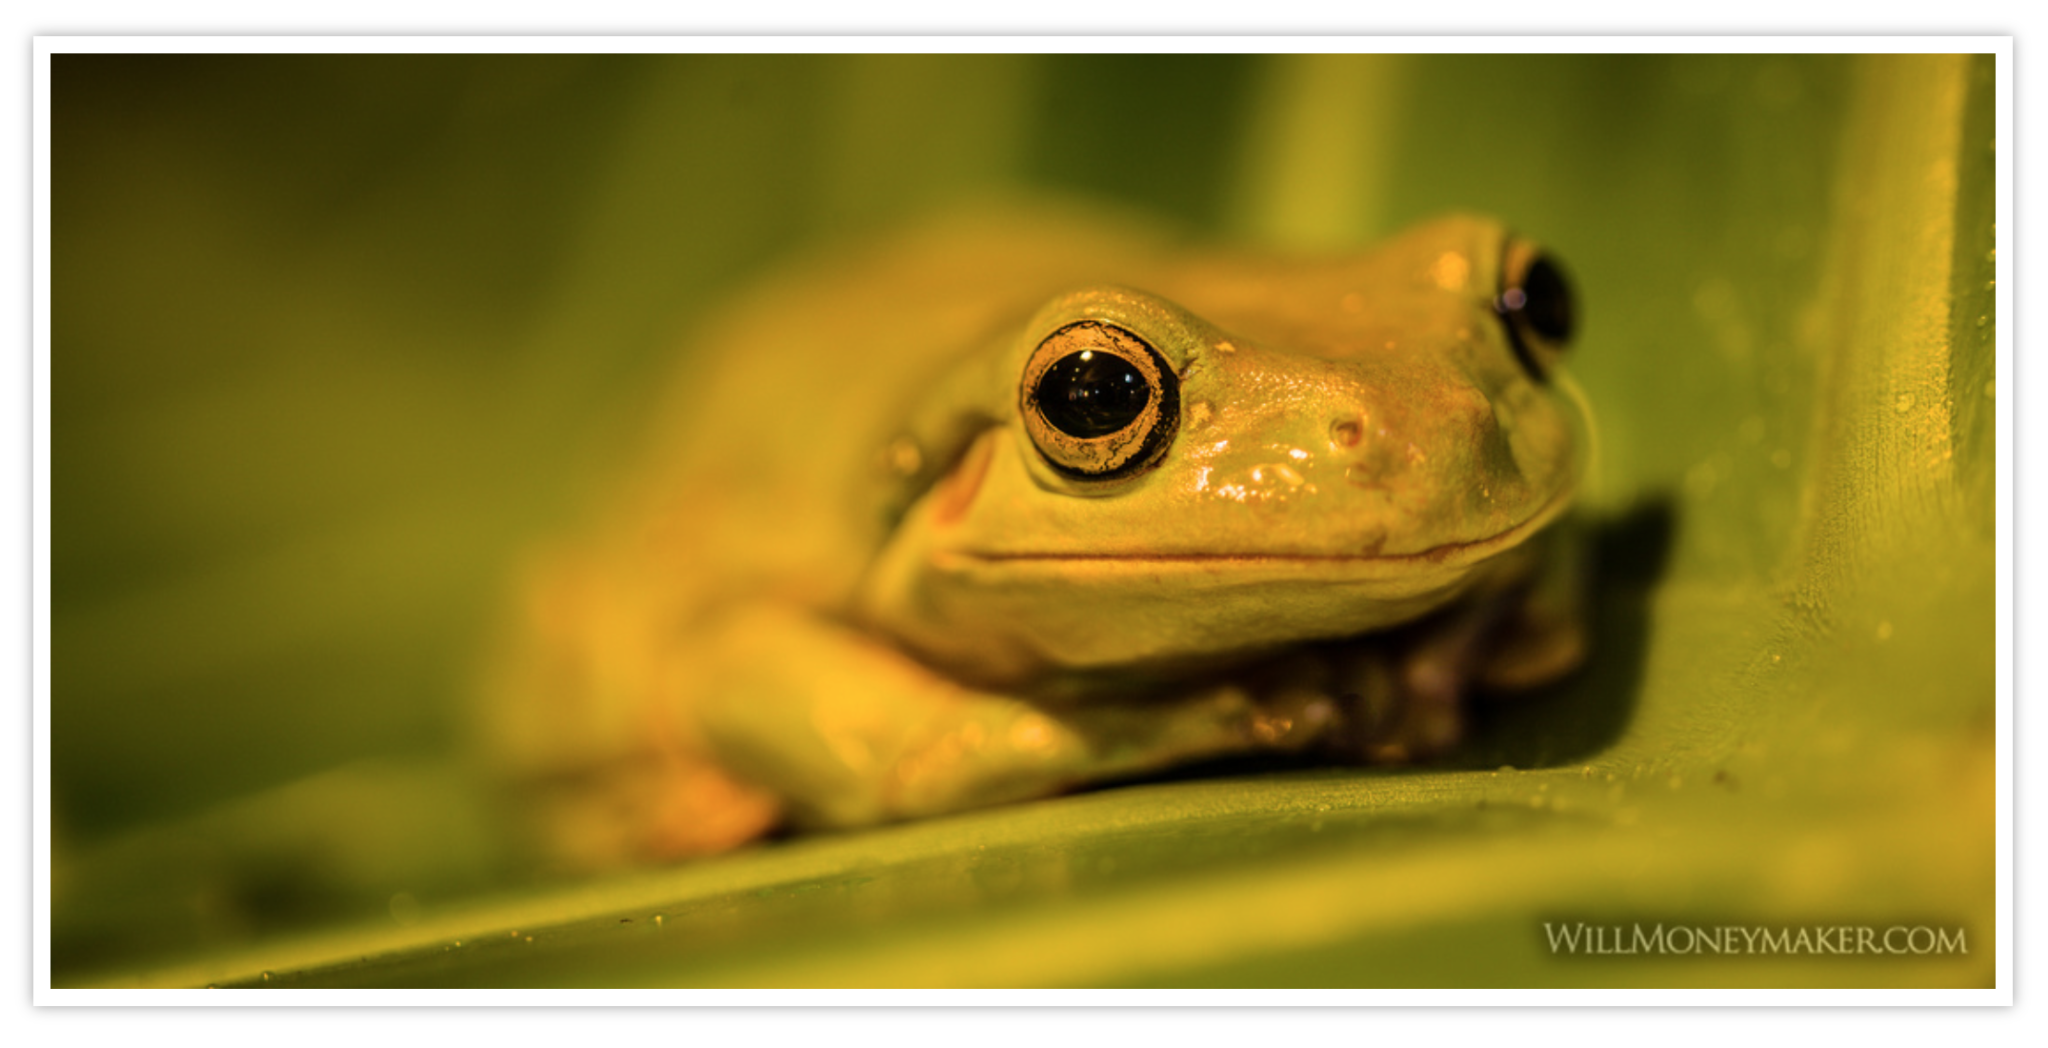
7. Get on Their Level
Some photographers hesitate to crouch, lay down or climb onto a nearby bench, but if you want truly excellent images, then you need to be taking them from the animal’s eye level. Images at eye level are much more dynamic than those that are taken from above or below.
8. Be Prepared for Post Processing
You’re sure to run into a situation where there is simply no way to salvage an image on-camera. Tinted glass and florescent lighting can skew your colors, while unavoidable objects will need to be cropped out or removed with a clone tool or retouching brush.
Be prepared to do color and exposure correction with Photoshop, Lightroom or similar software. If the colors are way off, try a black and white conversion instead. The same goes for lighting – if you have blown out highlights or dark shadows, you may find that you can still turn the image into a beautiful piece of abstract art.
If you have access to a nearby zoo, then give zoo photography a shot. With the right equipment and tactics, you can create images that any wildlife photographer would envy!
I’ve always asked questions. That’s how I’ve learned most of what I know. I’ve asked other photographers. I’ve read. I’ve tried things. I’ve made mistakes...
When we get caught up in the daily grind, we often don’t make time for our art. In this episode, I’ll show you how daily photo projects help you improve your...
Ansel Adams said, “There is nothing worse than a sharp image of a fuzzy concept.” As photographers, this is our greatest struggle — to produce images with a...