Color, direction, and now, intensity! Intensity is the third key factor to good photographic lighting, and it’s likely the factor that we are all most familiar with simply because lighting intensity is what determines whether photographs are overexposed or underexposed.
When we create photographs with the intensity of available light in mind, that’s when the magic happens. Different levels of intensity can create all kinds of effects: Bright lighting for stark images, moody long exposures in dim or nearly non-existent light, images with bright lights and deep shadows to create lots of contrast. The intensity of our light sources is what gives us things like shading and shadow — and those are the things that give photographs depth.
So let’s take a look at varying levels of intensity where lighting is concerned. This way, you’ll be able to see how you can put different levels of light to work in your own photography.
The Bright End of the Spectrum
At the bright end of things, we have very intense sources of light. This can be noonday or early afternoon sunlight, light from flashes, studio lighting or other extremely bright sources. In general, to work with this type of light, you’ll need to use narrow apertures and faster shutter speeds to avoid overexposure. Intense lighting usually creates a bright, sharp photograph wherein details are nicely illuminated and therefore, quite clear.
It can also give photographs a stark effect. If no shadow creeps in to shade features within the frame, then intense lighting can make subjects feel flat and one-dimensional. Usually, this is something that we photographers try to avoid, but in a few rare instances, it may be an effect that you’d like to employ.
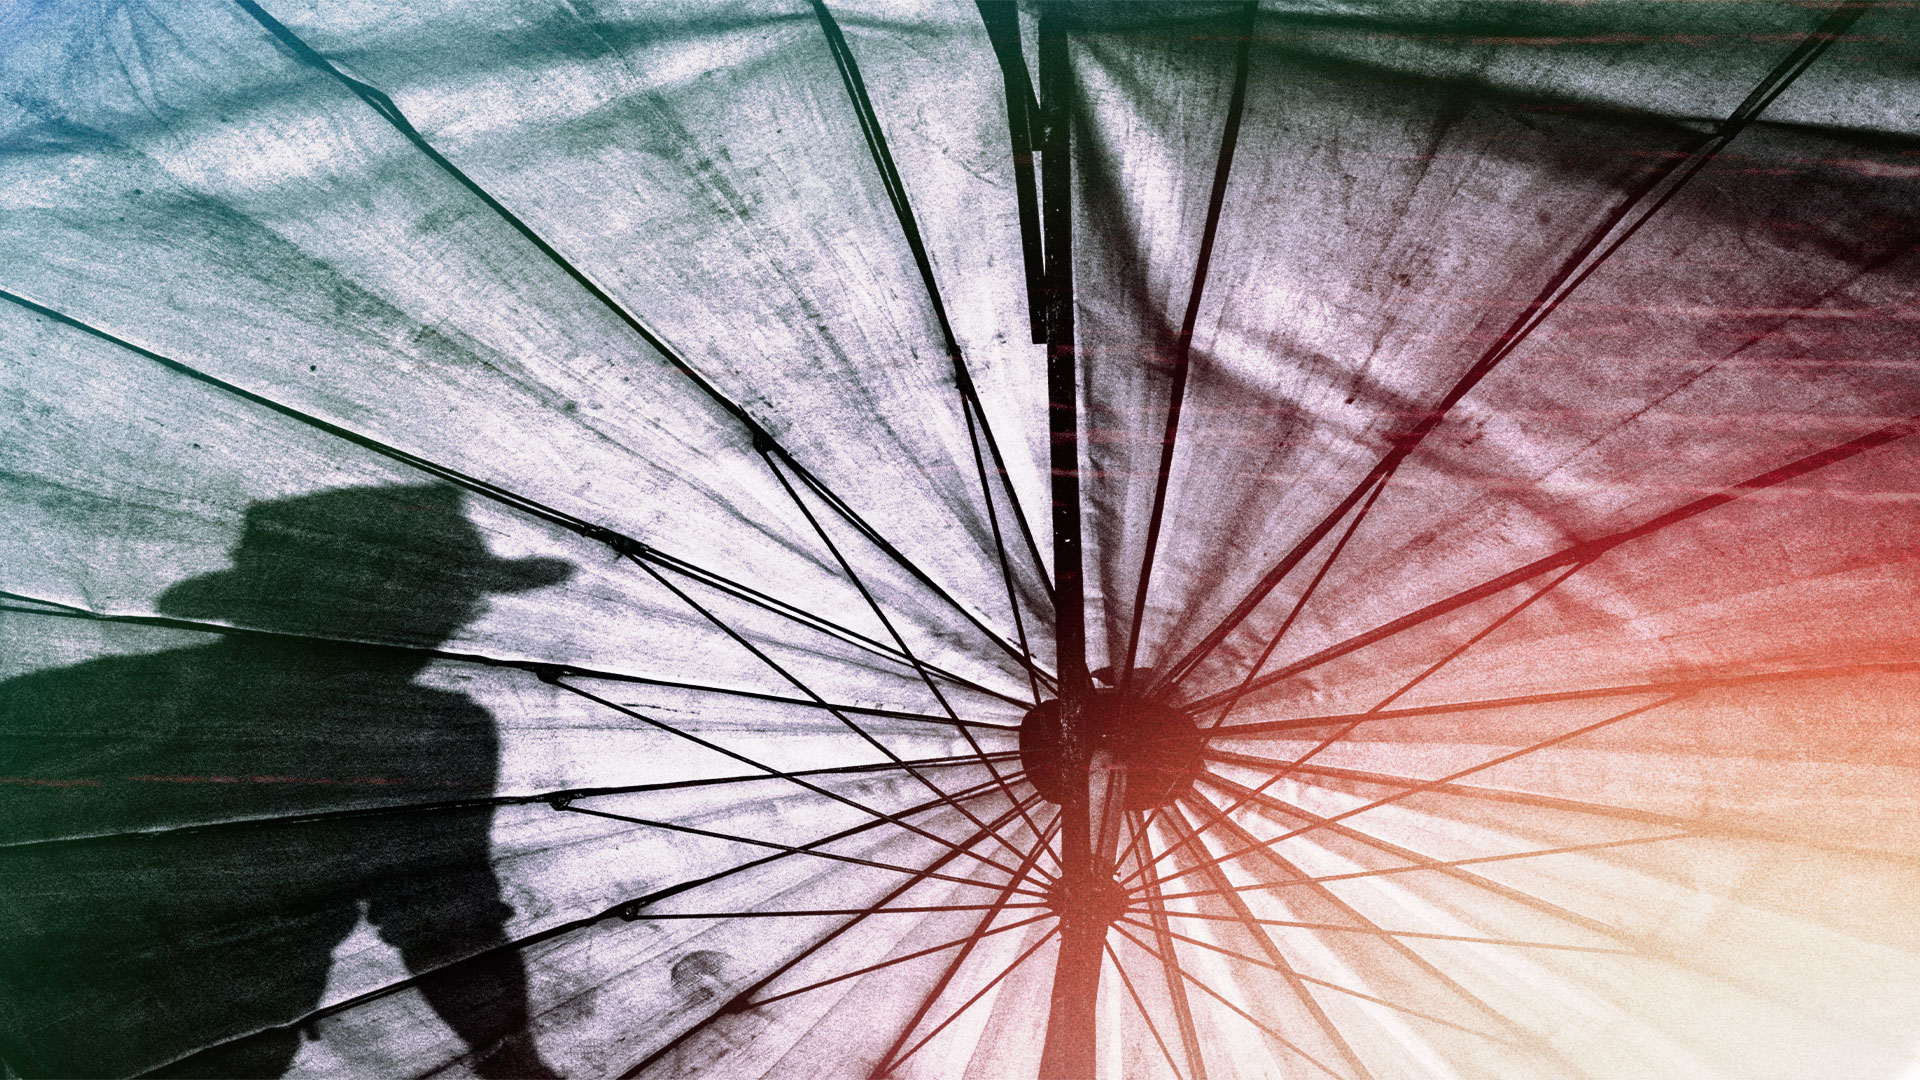
Intense lighting also creates intense shadows, at least, where shadows fall. If you photograph trees from a distance on a bright day, you’ll notice that the areas in shade will have very deep, dark shadows. Sometimes, if you want to preserve details in those shadows, you’ll need to use tools like neutral density filters or other methods to balance the exposure so that the bright spots aren’t quite so bright. Similarly, portrait subjects with their backs to the sun will have their faces in shade. To remove those shadows, photographers generally turn to fill flash. However, if you’re interested in contrasts, then this is one of the most fool-proof ways to get those contrasts.
Deliberate overexposure is another technique that we sometimes use when lighting conditions are particularly bright. For the most part, we seek to avoid overexposure, but at times, it can be an effective way to obscure detail or give an ethereal effect to images.
The Dim End of the Spectrum
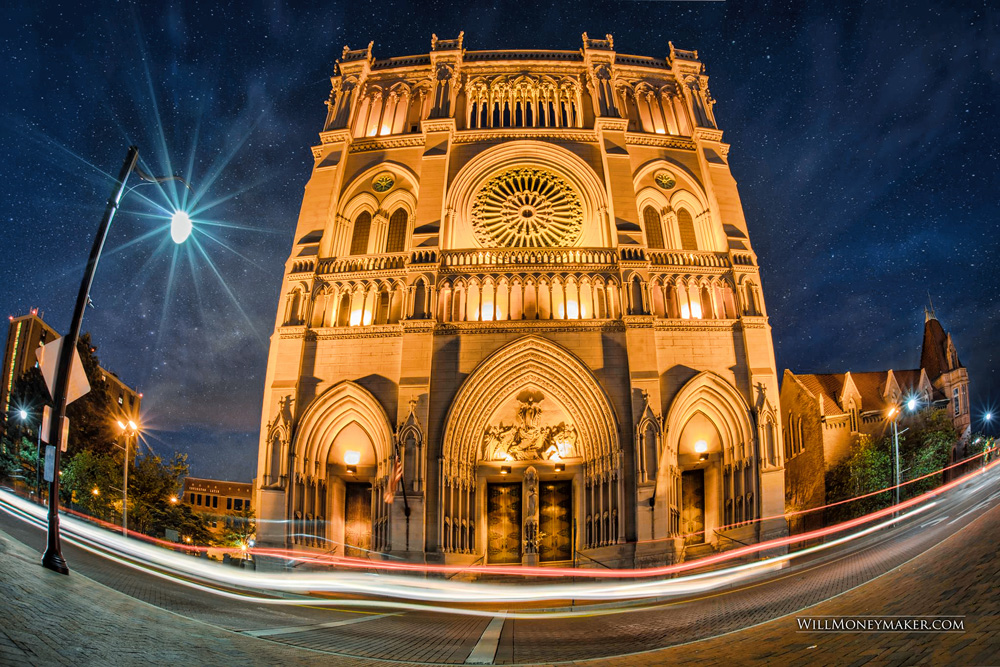
Low intensity lighting is the exact opposite end of the lighting spectrum. Nighttime photography and indoor photography fall into these two categories. With these types of lighting, especially nighttime photography, you’re typically working with as little light as possible, which means you’ll need to use long exposures to capture starlight or whatever other minuscule amounts of light exist. When done successfully, though, the effect is stunning. You’ll end up with things like star trails, or tiny points of light in a sea of darkness. Because you’ll be working with long shutter speeds, you can also get effects like blurred headlights and taillights, which make for unusual trails that will lead your viewer through the photograph.
Indoors, low intensity lighting can be a little tricky to work with. Photographers often resort to flash not only to get a purer light than florescent or whatever is available but also to get more illumination in general. But if you’re willing to be creative, flash isn’t always necessary indoors! During the day, try using windows or other sources of light. A window makes not only a great frame for a portrait subject, but light washing into a darkened room makes for fantastic contrasts, too. Or you can keep lighting low intensity and use things like candles or Christmas lights to keep the mood soft and warm.
Really, low intensity lighting doesn’t necessarily mean that you must find ways to increase the level of light within the area. Rather, it means that you’ll want to look for ways to emphasize what little light you do have.
Intensity and Contrasts
At the end of the day, intensity is all about creating contrasts. In long exposures, contrasts are drawn by highlighting those small points of light against the darkness. In intense lighting situations, the contrast is the shading that gives your subjects dimension.
Most of the time, your lighting will be somewhere in the middle—not darkness, but not always noonday sunlight, either. Sometimes it’ll be cloudy, diffuse lighting. Or perhaps a moderately lit room. Light in the early morning or in the late afternoon to evening hours is dimmer than during the middle of the day. During these medium intensity times, you’ll need to figure out how to work with the shadows you have in order to give your images depth, contrast, and dimension. This may mean adjusting exposure settings somewhat — either a slower shutter speed or wider aperture to create darker shadows and brighter highlights. Or it may mean using accessory lighting of some kind to bring intense lighting into the frame so that shadows are darker.
Of course, the high contrast between bright areas and shaded areas of a photograph aren’t always necessary. If a flatter, more diffuse look is what you need to display a scene or subject to best effect, then, by all means, go for it! But sometimes, you will want to increase the range between an image’s lightest areas and darkest spots, and that means getting creative with the light that you have available, no matter the intensity. After all, if photography is the art of painting with light, then the absence of light, just like the absence of paint in certain areas on a canvas, is part of our art!

